
User management within SiteHive
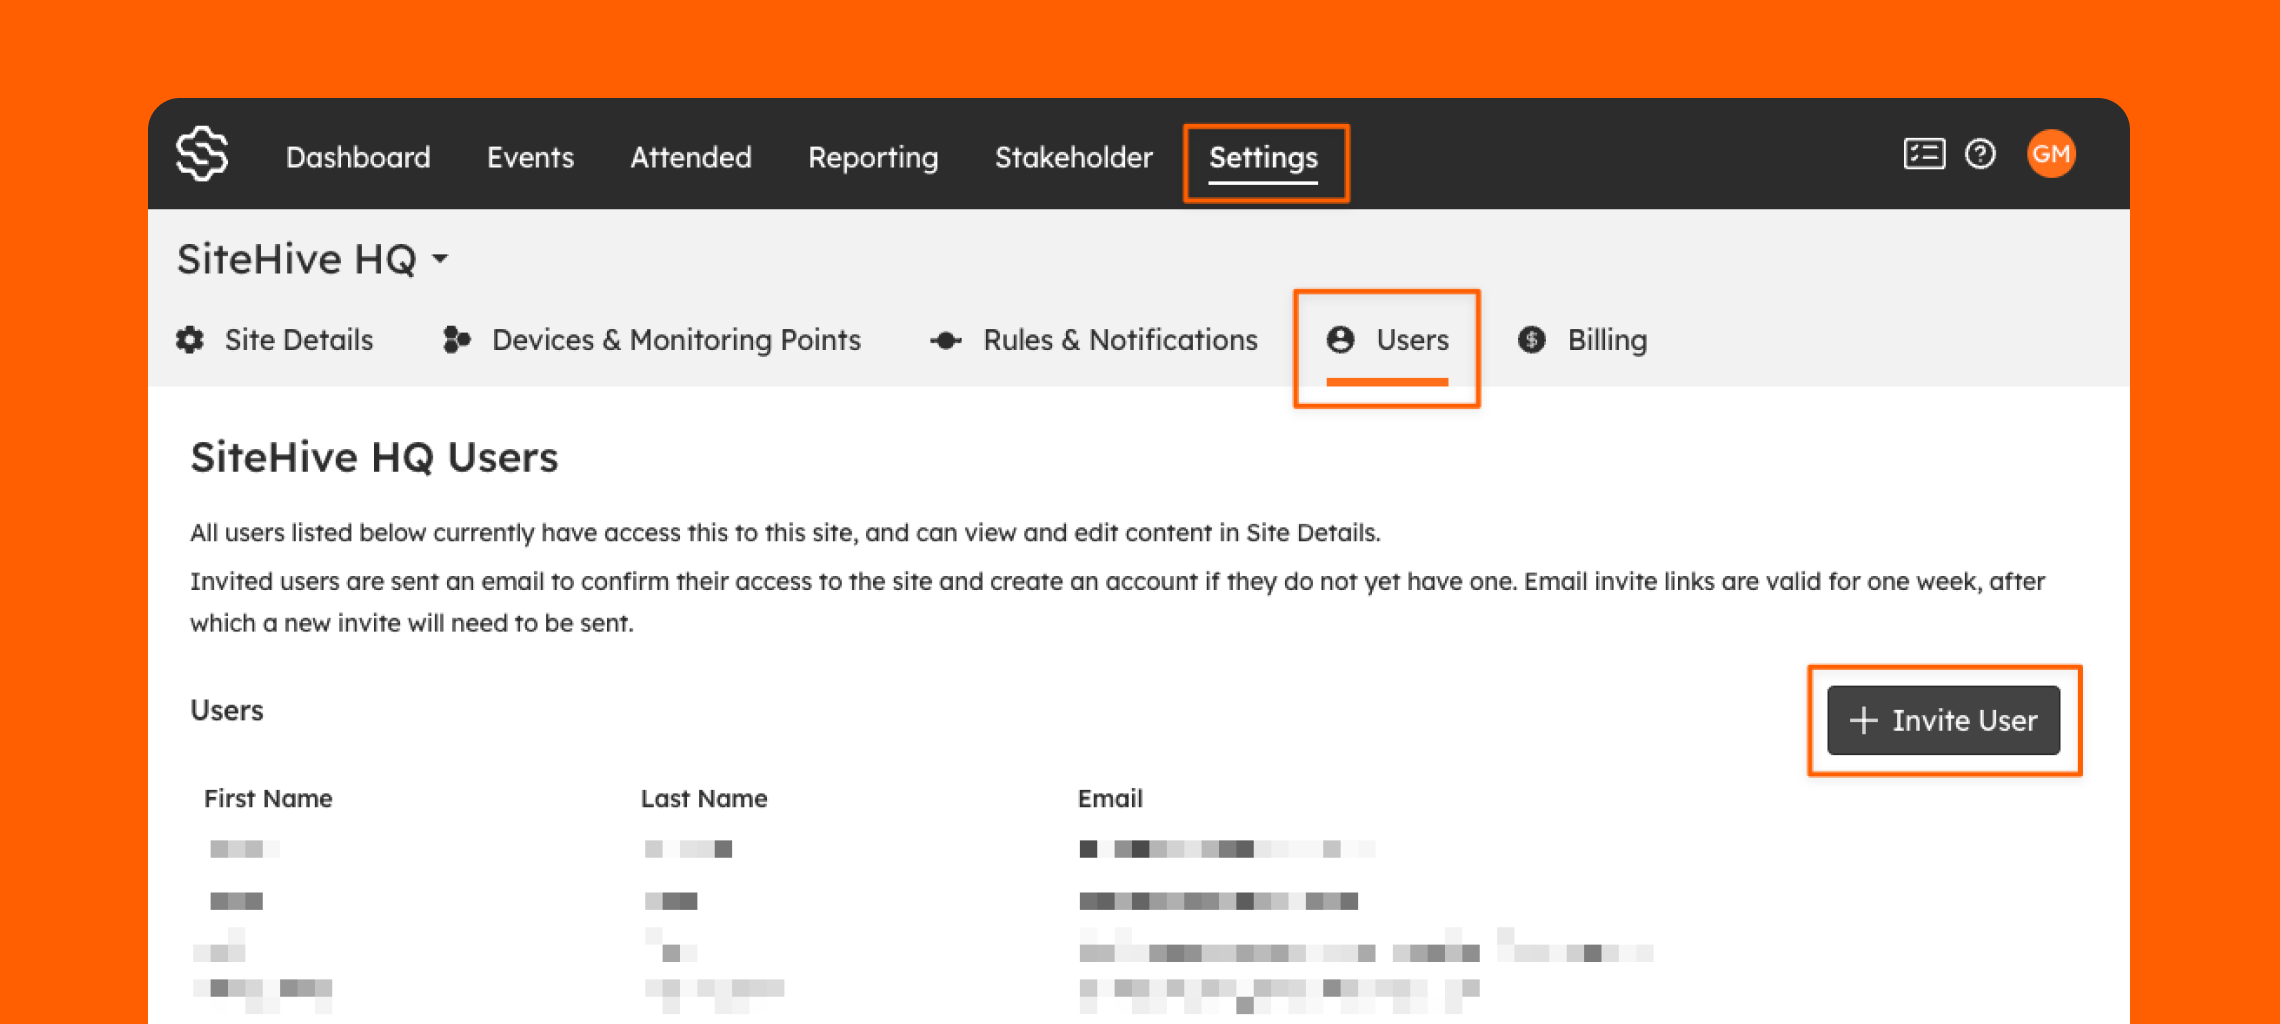
The best place to manage site access and collaboration with your team is on Settings / Users page. You can see who has access to your SiteHive Enviro software and invite new users so others can be part of your project.
Invite a New User

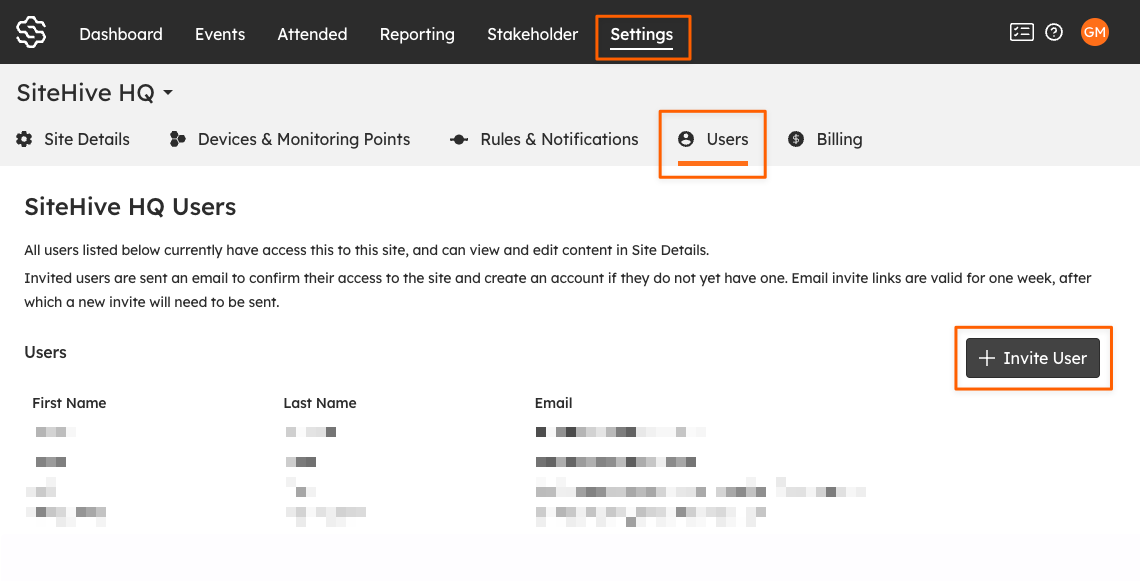
Go to the Settings page & Users section
Click '+ Invite User' button
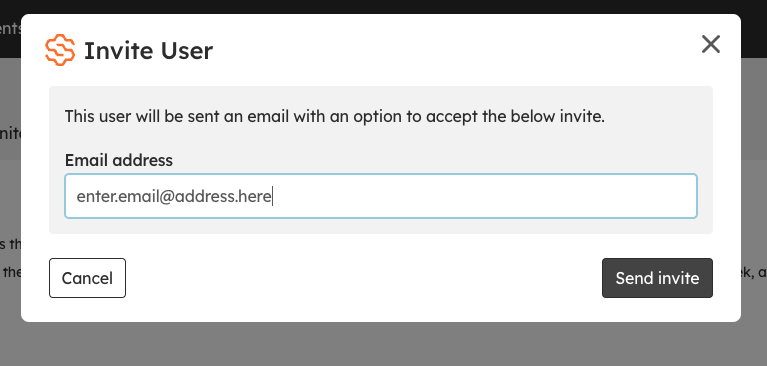
When prompted enter the email address of the person you would like to add and click the 'Send Invite' button
You will see a green pop-up at the bottom of the screen to let you know that the invitation has been sent
Invited user then just needs to then open the email & signup to access SiteHive.
Invited User Next Steps
If they are a new user they will get an email from SiteHive stating they have been invited.

Please remind an invited user to check their SPAM folder for invite email especially if their business has strict email spam filtering.
The email will have an 'Accept Invite' button and/or a link that will allow them to add their details to create their account, and once their account has been created and they have logged in, they will have instant access to the SiteHive.
it's a good idea to remind new users to make a bookmark for the SiteHive page in their browser, so it's easy to find.
Below is the log in sequence.

If their email address already has access to SiteHive they will get an email asking them to 'Accept Invite' that the new site should be added to their portfolio


New to SiteHive Enviro Software?
Get familiar with key features by completing these four quick steps:
Set Up a Device – Have a new device on-site? Add it to SiteHive Enviro Software using Easy Setup, then manage all your devices and monitoring points from the Dashboard.
Create Notifications – Need alerts? Create a Rule and configure email or SMS notifications in Settings > Rules & Notifications.
Explore & Report – View daily data on the Dashboard. For long-term trends, use the Reporting page to analyse graphs, stats, and generate PDF reports.
Invite a User – Need to give team members access? Invite them as a new User on Settings/Users page.
Access via a mobile device - want access to SiteHive Enviro anywhere/anytime? install the web app on your phone, it takes less than a minute to do.