
SiteHive Hexanode Noise, Dust, & Noise+Dust
Setting up SiteHive Hexanode Noise, Dust, & Noise+Dust

Guide for different configurations:
With Lithium battery set up
Hexanode Noise, Dust, & Noise+Dust - Lithium battery solar set up
Steps
- Lift Solar Panel - Lift the solar panel and tighten screws via 45° bracket
- Connect bottom upright - Attach the bottom upright pole via the corner bracket to the base and attach 45° bracket to solar panel
- Connect top upright - Connect the top upright pole via straight brackets
- Connect Hexanode - Unscrew thread from the bottom of the Hexanode Device. Insert screw through the bottom of L bracket and into the Hexanode
- Connect battery, load and mount battery - Connect battery to lithium battery. Connect load cable to Hexanode Device. Place battery under the solar panel or mount to the base.
- Check Hexanode Device is on - Observe the flashing LED light coming from the LED light from the centre of the SiteHive Logo: 🟢 Power on and making comms connection, 🔵 Power on and can't make comms connection.
Hexanode Noise, Dust, & Noise+Dust - Lead acid battery solar set up
Steps
- Lift Solar Panel - Lift the solar panel and tighten screws via 45° bracket
- Connect bottom upright - Attach the bottom upright pole via the corner bracket to the base and attach 45° bracket to solar panel
- Connect top upright - Connect the top upright pole via straight brackets
- Connect Hexanode - Unscrew thread from the bottom of the Hexanode Device. Insert screw through the bottom of L bracket and into the Hexanode
- Connect battery, solar panel and load to solar controller - Connect the battery cable to the solar controller and battery (ensure + goes to +, and - to -). Connect the solar cable to the solar controller (found behind the solar panel.) Connect the load cable to solar controller. Connect the load cable to the Hexanode Device (observe green light coming from the LED light from the centre of the SiteHive logo). Place the battery lid on and secure it with the battery strap.
- Check Hexanode Device is on - Observe the flashing LED light coming from the LED light from the centre of the SiteHive Logo: 🟢 Power on and making comms connection, 🔵 Power on and can't make comms connection.
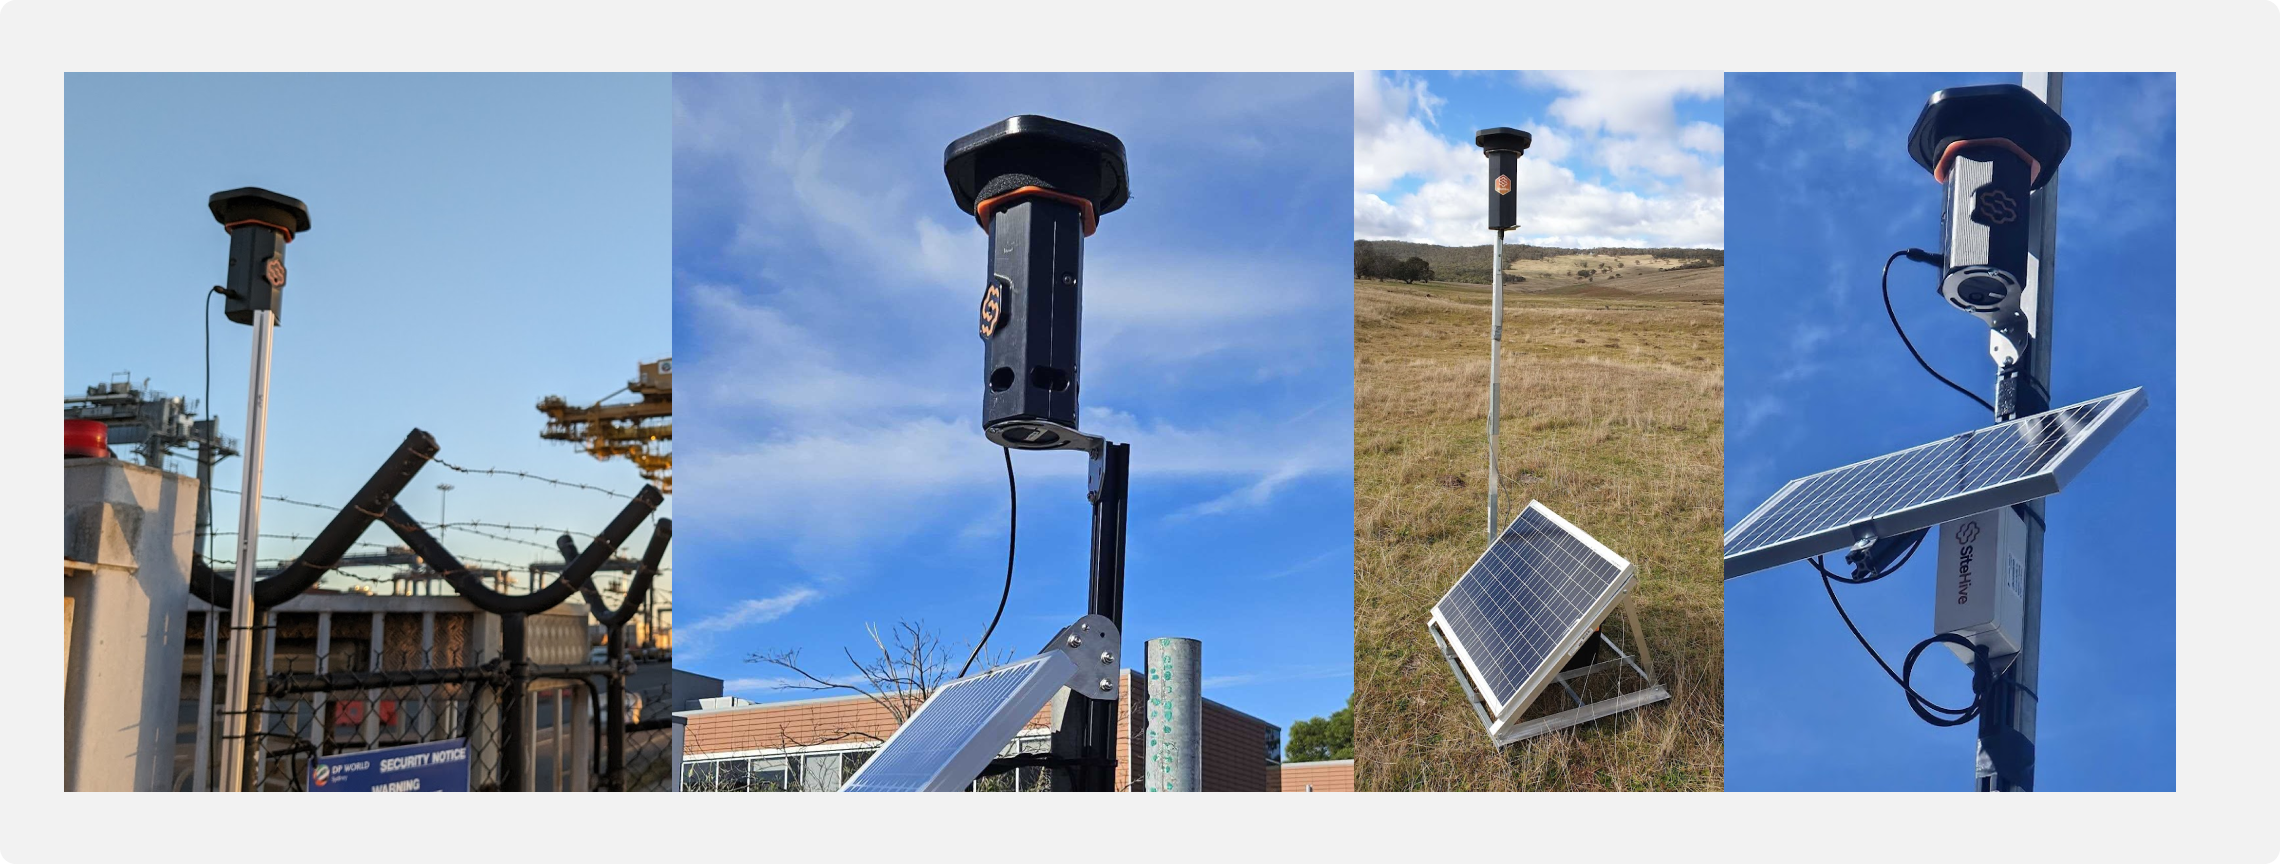
Hexanode Noise, Dust, & Noise+Dust - Solar panel with pole mount
Video for solar panel with pole mount.
Steps
- Remove solar panel from base frame - Loosen the screws
- Remove the side pole from frame and re-attach to panel
- Remove the angle bracket and attach it to mounting pole
- Mount the solar panel
- Mount the frame on the fence or pole - Zip ties can be used
- Mount and connect the battery
- Mount the Hexanode Device
- Orientate the Hexanode Device for camera coverage - Each camera has a 160° view
- Connect power to the Hexanode Device
- Check Hexanode Device is on - Observe the flashing LED light coming from the LED light from the centre of the SiteHive Logo: 🟢 Power on and making comms connection, 🔵 Power on and can't make comms connection