
Add a KML Map
This guide provides step-by-step instructions on how to add a KML map to your SiteHive dashboard. KML (Keyhole Markup Language) files allow you to visualise geographic data on a map. By uploading a KML file, you can overlay project-specific locations or boundaries directly onto your SiteHive dashboard, helping you better manage and analyse your site’s environmental data.

Log in to SiteHive Enviro
Once signed in - Navigate to the top menu bar and go to 'Settings'
Click 'Site Details' on the second menu bar below your site name

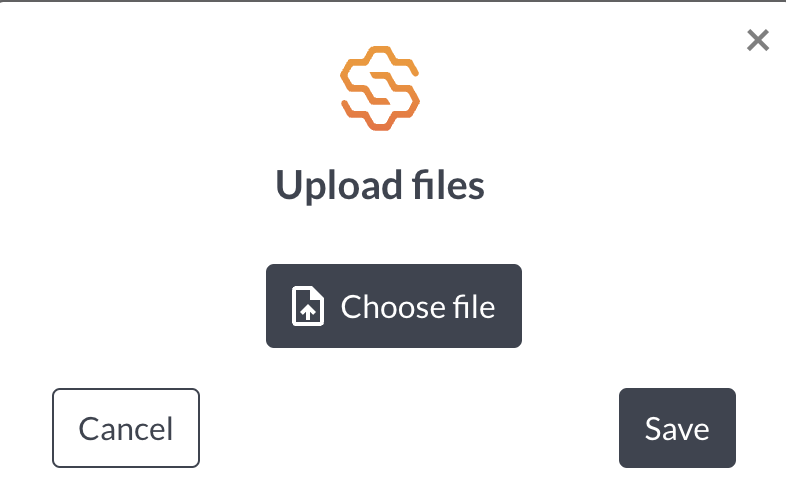
Scroll to the bottom of the page and you will see 'KML files upload'
Upload your KML file and click 'save'

Once uploaded, your KML map will be available on maps
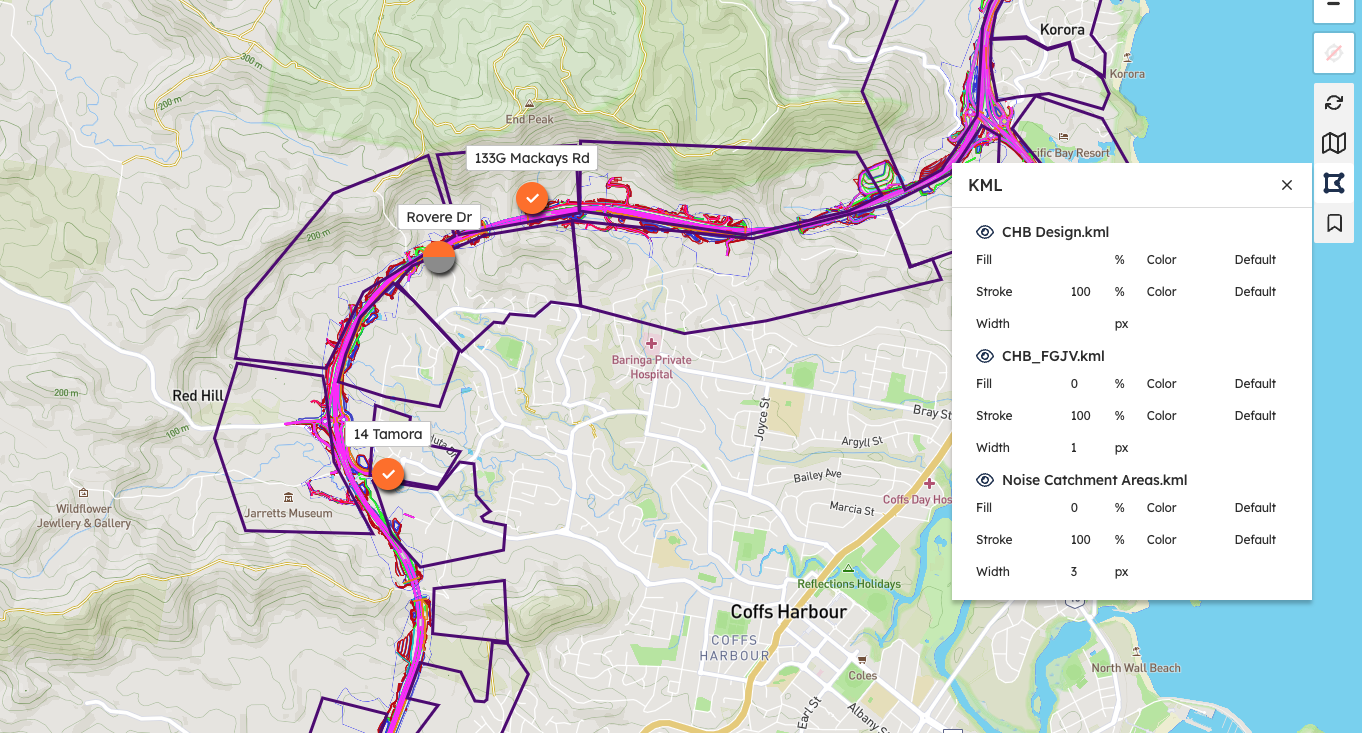
How to edit your KML map for better visibility
You can edit the colour - both fill and stroke and the width of the map for better visibility.
Click the KML map icon
Select the KML map to edit
Click the eye icon
Choose your fill colour, stroke colour and width
Need Help?
We’re here to assist every step of the way! Whether you need help gathering the required details or troubleshooting, reach out to us anytime.
📧 Email: support@sitehive.co
💬 Live chat: Located on the Dashboard and Settings tab
📞 Call: 0483 924 329